Friday, September 28, 2012

Fall Mantle

With temperatures still idling around 100 degrees here in Texas, it has been pretty hard to think about fall.  Despite the temps, I've still indulged in a few pumpkin spice lattes while watching my share of college football.  I love fall.  I love everything about it.  I love the scents, the colors, the anticipation of all the upcoming holidays.  I love game days, scarfs, and trick or treaters.  Love. love. love. love. love.  It only made sense that I had all my fall decor pulled from the attic and ready to go by September 1st.  Josh, the reasonable one, makes me wait until the first official day of fall.  You can only guess that once that day rolled around I started my fall decorating. 


So it seems that everywhere I look, people are posting their fall mantles.  Mine is still a work in progress, but I thought now might be a good time to explain this art project Josh and I undertook a while ago. 
 
First of all, I just want to throw out a disclaimer that Josh and I are in no way painters.  In fact, this is the first and only canvas painting we have ever done. 


We used several different shades of brown and beige and white and just started painting random brush strokes all over the canvas, mixing the colors together to create a textured look. We just used cheap acrylic paints from hobby lobby.  We also used a gold acrylic and painted subtle circles in the background.  We then found a damask image on google.  I pulled it up on my computer at school so that I could project the image onto a wall.  We taped a poster board on the wall and traced the projected image, which was then made into a stencil.  The stencil was traced onto the canvas where we then use black acrylic paint to fill in.  The fnal touch was the nailhead studs which were purchased on e-bay.  Our original inspiration was this piece from Anderson's which retailed for over $1000.
 
 
Of course the one at Andersons is more beautiful and professional looking, but I'm still happy with our knock off version that cost < $100. 


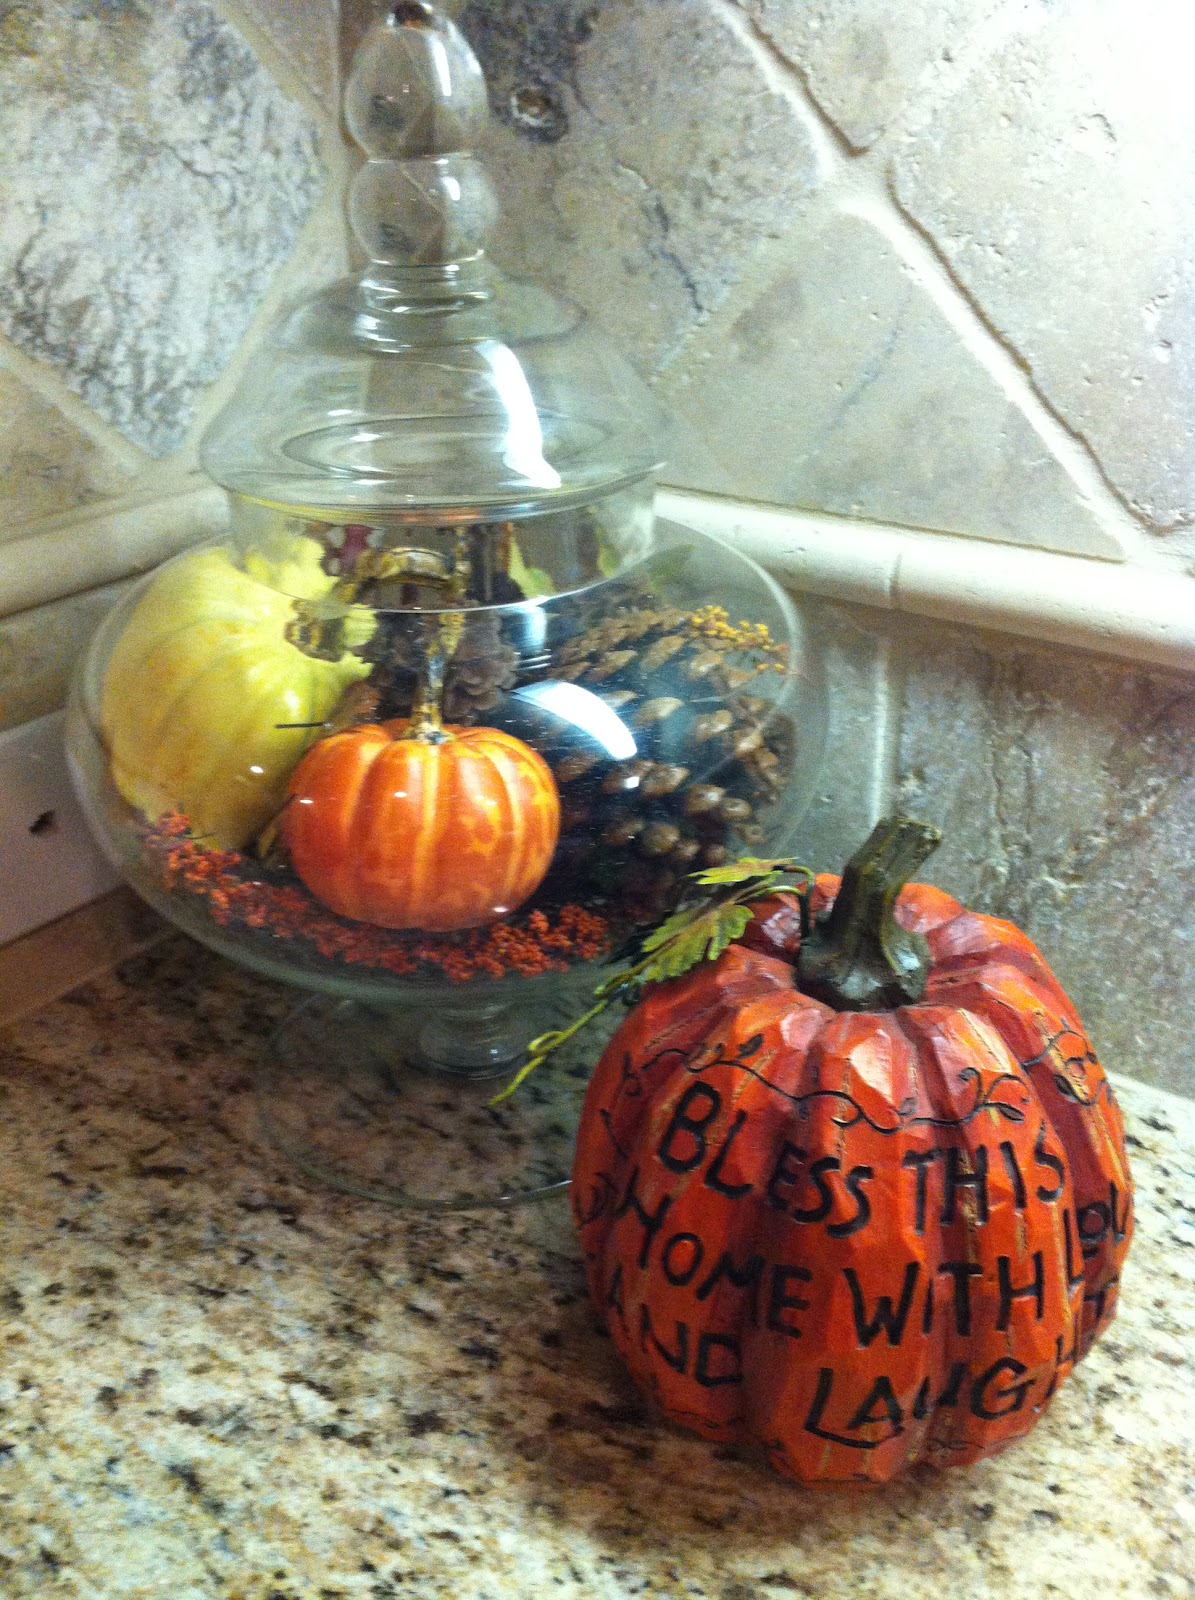
Here are a few other images from around the house. 
 
My breadbowl centerpiece on the dining room table. 


I also do one small area in the entry with halloween.


I'm hoping to swing by my #1 holiday decor source tomorrow... Decorator's Warehouse! I have a pretty good discount worked out with the owners (mom and dad). hehe. 
I you haven't checked it out, you need to! There is really nothing like it...but then again, I may be biased!

Saturday, September 15, 2012

Sweet Girl Baby Shower

This weekend I got to honor my friend Stephanie and her sweet girl by hosting a shower with 2 other close friends of mine.  It was so. stinkin. fun.  I loved everything from designing the invite (we used an electronic invite from punchbowl.com), making the menu, planning the games, and figuring out the decor and sweet little touches that make it so special. 


My friend Deb and I preparing for the shower. 

When guests arrived they were greeted by this wreath that was actually from my wedding. 

 
Josh and I spent tons of time fluffing up these fluffies.


They were the perfect thing to center over the food table.


Guests filled out their wishes for baby.  I got this awesome little freebie from here.


Here's our DIY banner.  We made a hobby lobby run one day and found the precut pennants, letters and fabric flowers.  We put a coat of paint and glitter on the letters and glued them down with hot glue.  Voila! We framed this free printable from  Technology Rocks Seriously and placed it on the entry table. I served double duty...decor but also a cute little something for momma to take with her.


We served french sparkling pink lemonade from Trader Joes and this delicious pink party punch  from Style Berry Blog.
 
 
The guest of honor with the 3 hostesses!


We played "The Price is Right" with these adorable recording sheets I made.  I assembled a basket full of goodies I thought Stephanie might need (wipes, diapers, baby powder, onesies, etc). This is hard to do when you've never actually had a child yourself!  The guests guessed the price of each item.  Everyone totaled up their list and the one closest to the actual total got a little goody and the momma got all the goods.  It was so fun!
 
 
I will leave you with these gorgeous images I pinned during the planning process.  Pinterest makes for the ultimate party planner. 
 
Tutuable Shower from P is for Party


Alice in Wonderland shower from Bump Smitten
 
 
(I couldn't find the original source on this one.  If it is yours, please let me know so I can give you proper credit. )
 
 
Ballerina Bakery Party from Bump Smitten
 
Ready to Pop Shower from Bump Smitten


I can't wait to meet sweet baby Adelyn in just a few short weeks.
 
Behold, children are a heritage from the Lord,
the fruit of the womb a reward.
Psalm 127:3

Friday, September 7, 2012

Annie Sloan Soft Wax Project

A little over a year ago, Josh and I bought this adorable table from a boutique in McKinney.

 
It's great, but we really have only used it a handful of times (okay maybe once). The wood tabletop was unfinished and we were scared to death of spilling or getting grease on it.  I knew I wanted to put some kind of protective coating on it, but had no clue where to start.
 
Enter: Annie Sloan, paint goddess
 
 
I just so happened to run across this can of Annie Sloan soft wax left over from a previous project. Y'all... I am most possibly the world's worst painter! I am so stinkin lazy when it comes to paint.  I just want to slap it on and be done, which is why I love Annie Sloan's chalk paint...no prep and priming, but this does come for a pretty penny (around $40/quart). 
 
As I started to read the label I see that it mentions kitchen tables.  Problem solved! I probably should have read some tutorials, but like I mentioned before, I just want to get it done.  So in about 5 minutes flat I had done just that!
 
I enlisted the help of my husband and we started slapping  on big globs of it with some soft rags.  Seriously, that's it y'all.  So easy.


Apply a generous amount to a soft rag (or brush- many sites recommend the annie sloan wax brush, but I didn't feel like making that investment) and press it in to your surface.  We then rubbed it in using circular motions. After we had covered the entire surface, we let it dry overnight and repeated the process.  
 
My favorite thing about the wax was how much richer in color it made the wood look.  I also enjoyed pouring water on the surface and watching it pool up! :)
 
Before: notice the discoloration on the corner


After: It was still not completely dry...hence the glare.
 
Mingle on over to Perfectly Imperfect for a tutorial on using furniture wax.